Resource Pool Management
A professional schedule is only as good as the resources assigned to it. MSP Planner uses a sophisticated resource pool model that allows you to combine your organization's official directory with temporary, project-specific resources.
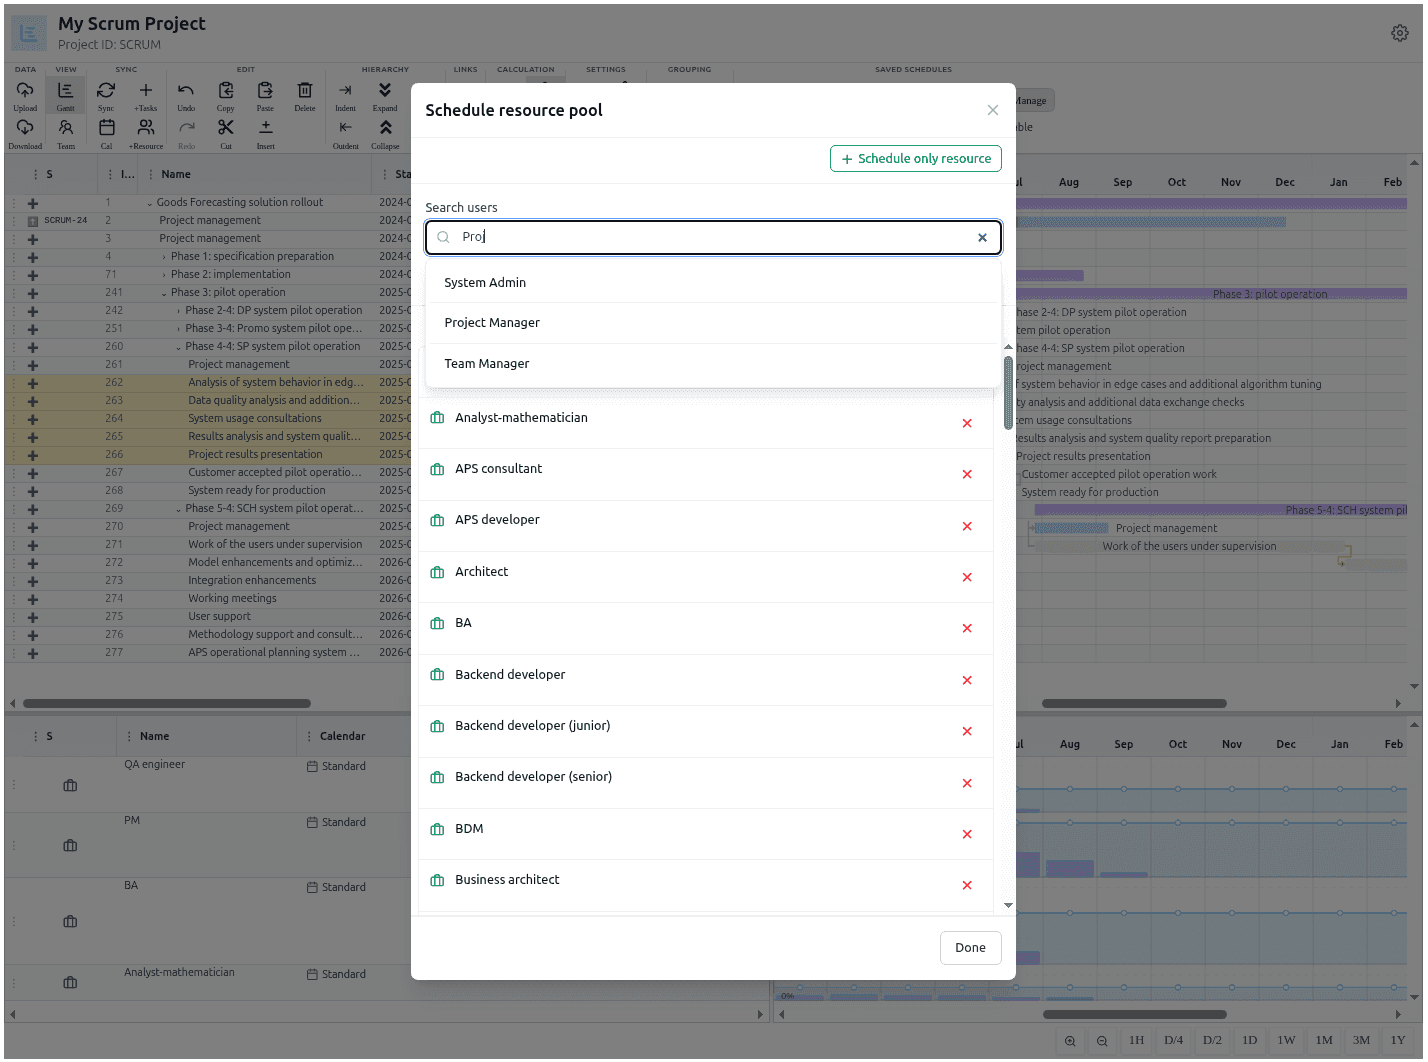
1. The Resource Identity Model
To maintain data integrity, MSP Planner distinguishes between where a resource originates. This determines their governance, how their data is synchronized, and how their work is tracked.
Organization/Directory Resources (Amber Icon 🟠)
These are system resources linked directly to your organization's identity provider (e.g., Jira User accounts, corporate directory).
- Source of Truth: Their master data—such as full name and email—is owned by the system. This prevents inconsistent naming across different schedules.
- Execution Linkage: Because they are linked to a real Jira
accountId, MSP Planner can automatically pull their posted Jira worklogs to show "Actual Work" vs. "Planned Work." - Governance: System resource details are read-only within the timeline to ensure consistency with the corporate directory.
Actuals-Reconciled Resources (Violet Icon 🟣)
These are system identities that exist in your schedule primarily to reconcile posted worklogs from the host.
- Purpose: They represent "silent contributors"—users who have posted time against your project in Jira but haven't been explicitly added to your planning pool.
- Behavior: By automatically bringing in these contributors, MSP Planner ensures your "Actuals" are accurate and your project progress is factual without cluttering your planning pool with every single person who ever touched a ticket.
Project Resources (Emerald Icon 🟢)
Project resources are created locally within the specific schedule.
- Use Case: Use these for external consultants, vendors, or "placeholder" roles (e.g., "Lead Designer") before a specific person is assigned.
- Governance: These are fully editable within the timeline.
2. Pool Organization & Discovery
Managing a large resource pool requires efficient discovery and organization.
Adding and Attaching Resources
You can populate your pool via the Add Resources control in the toolbar:
- Search and Attach: Search the corporate directory to find a System Resource and attach them to your project. This establishes the identity link required for automated actuals tracking.
- Inline Creation: Quickly create a Project Resource by typing a name and clicking "Create."
Strategic Grouping
The resource pane is designed for rapid review and organization:
- Drag-and-Drop Reordering: You can drag resource rows up or down to group them by team, seniority, or specialty.
- Filter by Task: Select tasks in the top pane to instantly filter the resource pool to show only the people assigned to those specific tasks.
- Team Mode: Switch the view to "Team Mode" to select specific resources and see exactly which tasks in the project they are responsible for.
3. Resource Lifecycle: From Placeholder to Person
In professional planning, the resource pool is often dynamic. A common workflow involves moving from "Theoretical" to "Actual" staffing:
- The Placeholder Phase: Use Project Resources (Emerald) to create "Roles" (e.g., "Senior Backend Engineer 1"). This allows you to calculate the required capacity and budget for the project before the team is officially staffed.
- The Staffing Phase: As team members are assigned, replace the Project Resource with a System Resource (Amber) linked to the real Jira user.
- The Execution Phase: Once the system resource is in place, the timeline automatically begins aggregating their posted Jira worklogs, transforming the plan into a live tracking tool.
This lifecycle ensures that you can start planning immediately without waiting for final staffing decisions, while still maintaining a rigorous link to execution.